
In short, what you will discover in this article: how to transfer an eSIM from an old phone to a new one without complications. You will learn the key steps, methods depending on the systems, and tips to avoid common mistakes. This complete guide guarantees a secure and fast transfer.
1. Introduction — why and when to transfer an eSIM to a new phone
Transferring an eSIM to a new phone has become an essential step when changing devices. Whether you want to keep your number or your plan, migrating the eSIM avoids buying a new physical card. This process is especially useful to save time and avoid trips to the store. Understanding when and why to do this transfer makes managing your mobile connectivity easier.
2. Prerequisites before the transfer
2.1 Check the new device’s compatibility (eSIM supported)
Before any action, it’s crucial to make sure the new device supports eSIM technology. Most recent smartphones, including iPhones from the XR model and recent Androids like Google Pixel or Samsung Galaxy, offer this compatibility. Check in the settings or manufacturer documentation that the new device’s eSIM support is enabled to avoid any blocking during setup.
2.2 Back up data and disconnect the old device
To ensure a smooth transition, back up your important data and disconnect the old phone from the mobile network. This includes disabling or deleting the eSIM on the old device once the transfer is confirmed to avoid activation conflicts. This step is essential to secure your information and prepare the new device to receive the eSIM.
3. Methods to transfer an eSIM
3.1 Automatic transfer via the system tool (iPhone ↔ iPhone, compatible Android)
Recent iPhones offer an automatic transfer via Bluetooth, called Quick Transfer. Simply bring the two devices close together, then follow the instructions in Settings > Cellular Data > Add eSIM > Transfer from Nearby iPhone. On Android, some models like Google Pixel also allow direct transfer via Settings > Network & Internet > SIM Cards > Add > Transfer from Another Device, with Bluetooth enabled. This method is fast and secure, avoiding manual entry.
3.2 Activation via QR code provided by the carrier
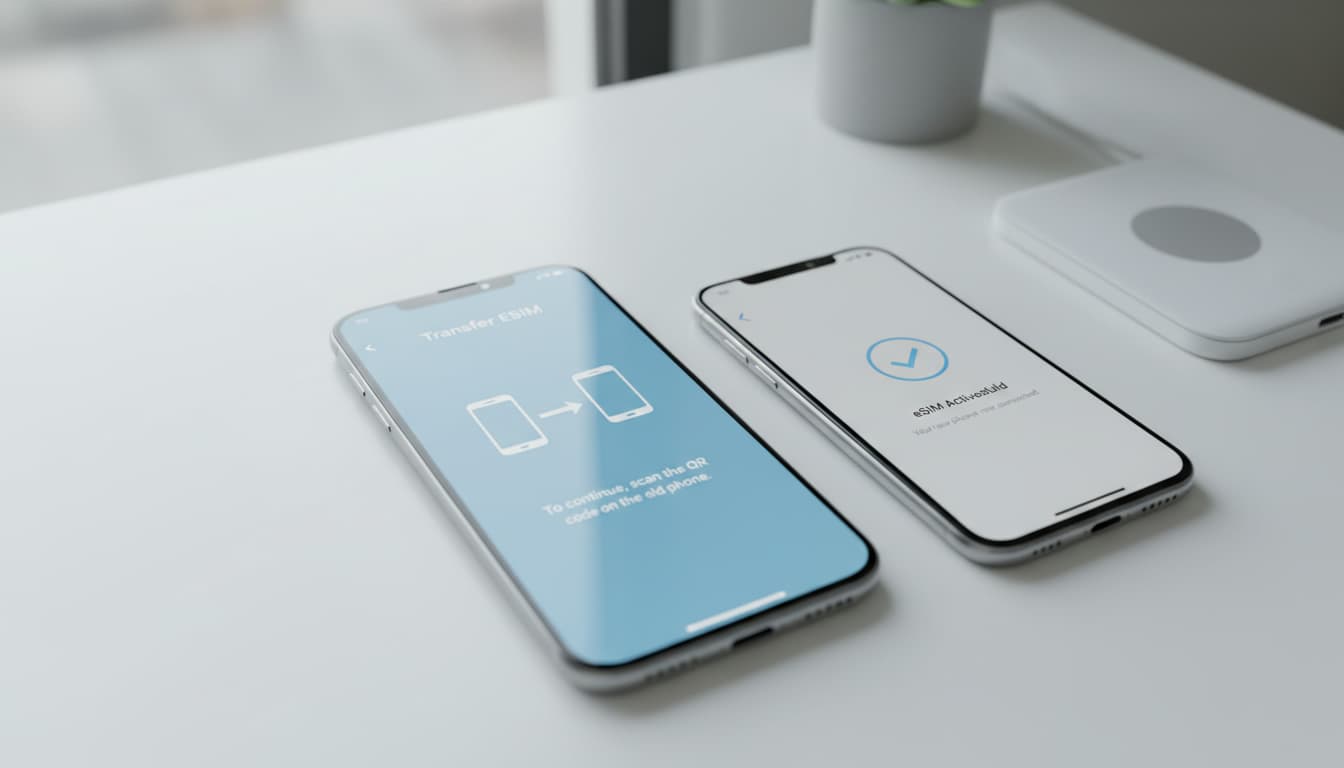
If automatic transfer is not possible, activation via QR code remains the most common method. The carrier provides you with a code to scan from the new device in the eSIM settings (e.g., Settings > Cellular > Add eSIM on iOS). This method is compatible with the majority of carriers and ensures a secure activation without input errors.
3.3 Transfer via the carrier’s client area (website or app)
Some carriers offer an online client area or mobile app for managing eSIMs. You can request a transfer or generate a new QR code there. This method is convenient for managing multiple lines or plans and avoids contacting customer service. However, it requires an active account with the carrier.
3.4 Requesting a new eSIM from the carrier (reactivation/portability)
If previous methods fail, it is possible to request a new eSIM from the carrier. This procedure usually includes number portability and plan reactivation. It may involve a longer delay and sometimes fees but guarantees service continuity. Be sure to keep all activation proofs and communications with the carrier.
4. Step-by-step procedures (detailed examples)
4.1 iPhone — illustrated steps to disable on the old and activate on the new
- On the old iPhone, go to Settings > Cellular Data.
- Select the eSIM line and choose Remove Cellular Plan to disable it.
- On the new iPhone, open Settings > Cellular Data > Add eSIM.
- Choose Transfer from Nearby iPhone and follow the on-screen instructions.
- Confirm activation via the side button or verification code.
- Wait for activation confirmation; the old eSIM will be automatically disabled.
4.2 Android — variations depending on manufacturer and Android version
- Enable Bluetooth and Wi-Fi on both devices.
- On the new phone, go to Settings > Network & Internet > SIM Cards > Add eSIM.
- Select Transfer from Another Device if available.
- Follow the instructions to pair the devices and transfer the eSIM.
- If this option doesn't exist, scan a QR code provided by the carrier via Settings > Connections > SIM Manager.
- Check the network connection and disable the eSIM on the old device.
5. Common issues and solutions
5.1 Activation error / eSIM not found
This error often occurs if the eSIM was deleted too early on the old device or if the QR code expired. Ensure the old phone keeps the eSIM active until confirmation of activation on the new one. If problems persist, contact your carrier for a new QR code or support.
5.2 Network loss after transfer
An unstable network may indicate a configuration problem or delay in propagation at the carrier. Restart the phone, check APN settings, and make sure the eSIM is properly activated. If the problem persists, a network reset or contacting support is recommended.
5.3 eSIM remains active on the old device — how to delete it
To avoid conflicts, disable the eSIM on the old phone via cellular settings. On iPhone, this is done in Settings > Cellular Data, then removing the plan. On Android, go to Settings > SIM Management and delete the line. This step is crucial for security and proper plan management.
6. Carrier-related questions and portability
6.1 When to contact the carrier and what information to provide
Contact your carrier if:
- Automatic or QR code transfer fails.
- You want a new eSIM or number portability.
- You experience persistent network issues.
Prepare your client number, new phone IMEI, and ID documents. This speeds up your request processing.
7. Best practices and security
7.1 Verify deactivation on the old device
Always confirm that the eSIM is deactivated on the old phone to avoid duplicates and fraud risks. This verification ensures your plan is properly transferred and secured.
7.2 Keep activation proofs (QR codes, emails)
Carefully keep QR codes, confirmation emails, and screenshots related to the eSIM. These documents can be useful in case of disputes or reactivation needs.
8. Quick FAQ
Not included as instructed.
9. Conclusion — final checklist and useful resources
To successfully transfer your eSIM to a new phone, follow these key steps:
- Check the new device’s compatibility.
- Back up your data and prepare the old phone.
- Choose the appropriate transfer method (automatic, QR code, client area).
- Disable the eSIM on the old device after activation.
- Keep all activation proofs.
For more details, see the complete guide at How to transfer an eSIM between two smartphones - Frandroid which details procedures by system.
10. Call to action (download checklist / contact carrier)
To facilitate your transfer, download our complete checklist at Skyda.co and do not hesitate to contact your carrier when necessary. You can also learn how to install an eSIM to optimize your mobile experience.
To learn more about eSIM technology, feel free to read our article on what is an eSIM and the difference between eSIM and traditional SIM card.
Finally, to fully enjoy your eSIM, consider securing your connection with an appropriate VPN, ensuring privacy and freedom while on the move.
Transfer your eSIM with peace of mind at Skyda.co, your eSIM and technology reference.